
To plan kitchen cabinets properly, measure the whole room rather than only the existing cabinet boxes. A useful preliminary survey records the walls, ceiling, doors, windows, services, appliances and fixed obstacles that will influence the final layout.
Your measurements can help you and your designer understand the space, but they should not automatically be treated as installation-ready dimensions. Uneven walls, concealed services, structural details and appliance requirements may need professional verification before cabinets are ordered or fitted.
1. Prepare your tools and draw a room sketch
Use a tape measure, pencil, paper or digital notes, a camera or phone, and a spirit level if available. A second person can hold the tape and record figures, particularly in a large or awkward room.
Draw a rough plan from above. It does not need to be to scale, but it should show every wall and opening. Label walls consistently, such as Wall A, Wall B and Wall C, then use those labels in your notes and photographs.
Create a simple front-facing elevation for each wall. This makes it easier to record window heights, sockets, switches, radiators and other features that cannot be understood from a plan alone.
2. Measure the room envelope

Measure each wall from corner to corner, including walls containing existing cabinets. If a doorway, recess or opening interrupts a wall, record the separate sections as well as the overall run.
Measure the room width between opposing walls and the ceiling height from the finished floor. Record every change in floor, ceiling or wall line instead of treating the room as a perfect rectangle.
Repeat important dimensions, especially unusual results. Where practical, measure wall runs at floor level, worktop height and higher up. Comparing readings can reveal walls that taper, bow or move out of square.
Do not hide unevenness by averaging figures. Record what you find and flag meaningful variation for a kitchen designer or installer.
3. Record doors, windows and other openings
For each door, note the opening width and height, position from the nearest corner, frame or lining, and opening direction. Mark the complete door-swing zone, including nearby circulation space and possible conflicts with cabinets or appliances.
For every window, record its width, height, position from the nearest corner, sill height from the finished floor and reveal depth. Note the opening direction, handles, shutters and blinds, as these may affect cabinet placement.
Also measure alcoves, pass-throughs, recesses, chimney breasts and structural projections. Photograph each feature with a reference point visible where possible.
4. Map plumbing, electrical points and ventilation
Measure services from fixed reference points, such as a finished corner or the floor. Mark the sink, water pipes, waste outlet, stopcock, gas point, sockets, switches, lighting controls and visible ventilation grilles.
For sockets and switches, record the horizontal position from a labelled corner and height from the finished floor. Note whether each is single or multiple, above or below a worktop, and whether it supplies a retained appliance.
Record radiators, boilers, extraction routes, vents and exposed pipework in the same way. Include width, height, depth and distance from nearby corners. If a service disappears behind a wall or boxed section, mark it as concealed rather than assuming its route.
Stop point: do not remove panels, disturb wiring or alter gas, plumbing or ventilation systems to improve your measurements. Record what is visible and arrange professional verification where necessary.
5. Measure appliances and fixed obstacles
List every appliance you intend to retain, replace or add, including ovens, induction hobs, refrigeration, dishwashers, washing machines, wine storage and coffee systems. Record model numbers where available and keep the product information with your notes.
Do not rely only on the visible appliance face. Housing, ventilation, service connections, door movement and adjacent clearances may also affect the cabinet plan. Confirm these requirements from the relevant product information before final specification.
Measure boiler housings, structural posts, beams, boxed-in pipes, radiators, skirting boards, dado rails and floor-level changes. Record depth as well as width because a projection may affect whether cabinetry sits flush.
When gathering information for a consultation, consider how appliance recommendations may need to relate to lifestyle, budget and the wider kitchen design. Relevant product categories can include ovens, induction hobs, refrigeration, wine storage, coffee systems and smart home technology.
6. Connect measurements to the kitchen layout
Measurements become useful when connected to how the kitchen will be used. Note where groceries are unloaded, where food is prepared, how many people cook together, whether you entertain and which items need frequent access.
Record priorities beside the sketch. These might include pantry storage, a larger preparation area, improved recycling access, seating, an appliance garage or a clear route to an adjoining room.
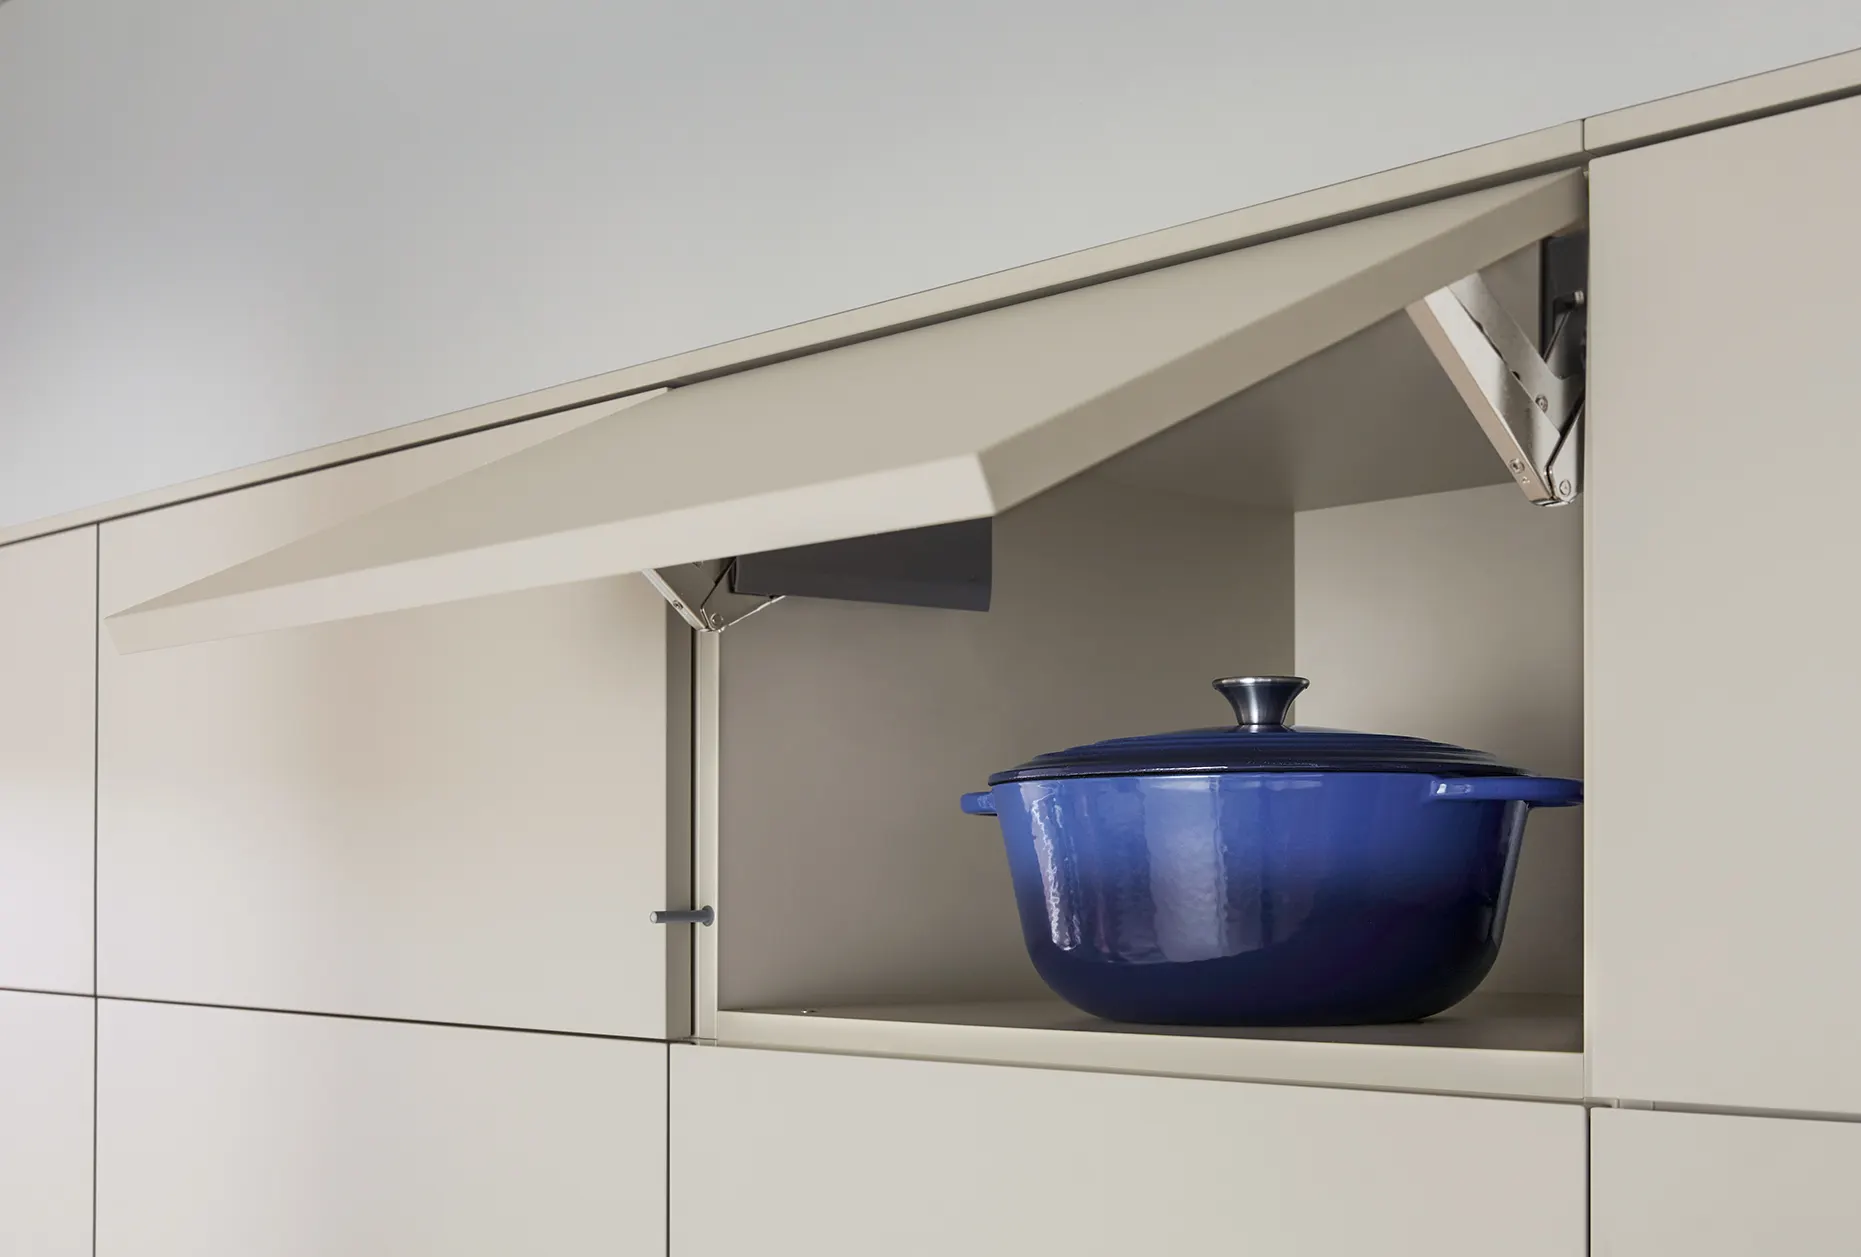
When reviewing kitchen examples, consider how cabinetry, appliances and storage combine into one coordinated layout. The purpose is not to copy a display, but to understand why cabinet planning should consider worktops, appliance integration, storage and circulation together.
If the project includes other rooms, note how the kitchen relates to them. Connected spaces may include fitted wardrobes, home offices, utility rooms and media walls, supporting a more consistent approach across the interior.
7. Use a measurement worksheet
| Category | Record | Confirm professionally |
|---|---|---|
| Room envelope | Wall lengths, room width, ceiling height and uneven areas | Final usable dimensions and out-of-square conditions |
| Openings | Doors, windows, sills, reveals, frames and swing directions | Clearances around cabinets and appliances |
| Services | Water, waste, gas, sockets, switches, lighting and ventilation | Safe routes, compliance and relocation requirements |
| Obstacles | Skirting boards, pipes, boilers, beams, posts and boxed sections | Structural treatment and cabinet details |
| Appliances | Models, dimensions, connections and opening directions | Housing, ventilation and installation requirements |
| Design brief | Cooking habits, storage priorities, seating and project scope | Final cabinet, worktop and layout specification |
Use one unit throughout the worksheet. If you use millimetres, do not switch casually between millimetres, centimetres and inches. Write the unit at the top of every page or digital section.
8. Verify the record and know when to stop
Compare the sum of separate wall sections with the overall room dimensions. Recheck figures that do not make sense, and confirm that every feature on the plan appears in the wall elevations and photographs.
Look for omissions such as skirting-board depth, window reveals, door swings, stopcock position and the space needed for appliance doors to open.
Stop point: seek professional input if measurements conflict, a wall appears structurally significant, a service is concealed or uncertain, access is unsafe, or you cannot identify a projection confidently.
Homeowner measurements are valuable preliminary information, but they do not guarantee that cabinets, worktops or appliances can be ordered or installed without further checks.
Common mistakes that complicate cabinet planning
- Measuring only one wall height: compare relevant points where floors or ceilings may be uneven.
- Recording only opening sizes: frames, reveals, sills and handles also affect usable space.
- Ignoring skirting boards: their height and projection affect how base cabinets meet the wall.
- Forgetting door swings: open doors can conflict with cabinets, appliances or circulation.
- Guessing service positions: locate visible pipes and sockets from fixed points.
- Mixing units: inconsistent notation creates avoidable errors.
- Assuming walls are square: record variations rather than hiding them.
- Choosing appliances too late: installation requirements can influence housing, ventilation and worktops.
Turn your measurements into a useful design brief
Assemble the labelled plan, wall elevations, worksheet, photographs and appliance information in one folder. Add a short summary explaining whether you are renovating, extending or building a new kitchen, and identify decisions that are already fixed.
Separate confirmed facts from preferences. A window position is a measured constraint, while an island, handleless cabinetry or a particular worktop is a design direction that should be tested against the room.
A designer can use your record to assess layout options, storage, appliance integration, worktops, circulation and adjoining spaces. The next stage should confirm dimensions and identify what requires a site check or specialist input.
Before final specification
When should measurements be verified?
Verification should take place before committing to cabinet orders, worktops, appliances or installation. Seek help sooner where services, structural changes or irregularities are uncertain.
Frequently asked questions
Do I measure existing cabinets or the whole room?
Measure the whole room first. Existing cabinet dimensions are useful if units or appliances will remain, but they do not show all constraints created by walls, openings, services, skirting boards and circulation.
What if my walls are not square?
Record the variation and show it on the plan. Do not force the figures into a neat rectangle or choose an unexplained average. Uneven walls may affect cabinet runs, fillers, worktops and corners.
Should I measure appliances before planning cabinets?
Yes. Record model information and installation requirements for retained or selected appliances. Visible width alone may not account for housing, ventilation, connections or door movement.
Can I use my measurements to order cabinets?
They can begin the design process, but should not be assumed sufficient for ordering or installation. Relevant dimensions, services, appliance requirements and site conditions should be confirmed professionally.
Conclusion: Build the plan from accurate room information
The best way to measure kitchen cabinets is to begin with a survey of the room. Map the envelope, openings, services, appliances and obstacles, then connect those facts to how you intend to cook, store, entertain and move through the space.
A clear sketch and worksheet will make a tailored kitchen design consultation more productive. Honest notes about uncertainty also help prevent assumptions from becoming expensive problems.
Arrange a kitchen planning consultation
For a coordinated kitchen or interior project, MODENHAUS Kitchens & Interiors is a design-led studio and showroom in Ruislip serving Greater London and the Home Counties with premium German kitchens and bespoke interior solutions. To explore premium German kitchens, use the available website resources when discussing your measured plan and project requirements.